如何搭建一个基于 LDAP 认证的 GitLab 服务
发表于 · 归类于
代码 · 阅读完需 15 分钟 ·
报告错误
本文主要介绍了如何在 CentOS 7 环境下安装 GitLab EE 服务,以及集成 LDAP 统一认证、开启 HTTPS 等一系列配置。关于前期工作 LDAP 服务的安装和配置,请阅读上一篇文章:
一、安装 GitLab CE
GitLab 有 CE(社区版)和 EE(企业版)两个版本,我们使用的是 GitLab CE 10.3.1 的版本,并通过官方推荐的 Omnibus 包的方式进行安装。
首先,我们需要下载下面这些 GitLab 必需的依赖包:
# yum install -y curl policycoreutils-python openssh-server postfix
# systemctl enable sshd
# systemctl start sshd
# systemctl enable postfix
# systemctl start postfix
由于官方的镜像在国内下载速度较慢,我们使用了清华大学的镜像先把安装包下载到本地,并进行手动安装:
# wget https://mirrors.tuna.tsinghua.edu.cn/gitlab-ce/yum/el7/gitlab-ce-10.3.1-ce.0.el7.x86_64.rpm
# EXTERNAL_URL="http://gitlab.xinhua.io" rpm -i gitlab-ce-10.3.1-ce.0.el7.x86_64.rpm
这样,一个最基本 GitLab 便安装完成了。我们在浏览器中访问 http://localhost/ 便会进入 GitLab 的登录界面。首次使用时,需要按照页面提示设置管理员 root 的密码。
下面,我们开始按需求配置 GitLab。
二、配置 LDAP 基本连接
由于我们在上一篇中已经安装好了 LDAP 目录服务,所以在这里我们只需要按照下面的方法把相关配置信息添加到 /etc/gitlab/gitlab.rb 中:
### LDAP Settings
###! Docs: https://docs.gitlab.com/omnibus/settings/ldap.html
###! **Be careful not to break the indentation in the ldap_servers block. It is
###!   in yaml format and the spaces must be retained. Using tabs will not work.**

gitlab_rails['ldap_enabled'] = true

###! **remember to close this block with 'EOS' below**
gitlab_rails['ldap_servers'] = YAML.load <<-'EOS'
    main: # 'main' is the GitLab 'provider ID' of this LDAP server
      label: 'LDAP'
      host: 'localhost'
      port: 389 # usually 636 for SSL
      uid: 'uid' # This should be the attribute, not the value that maps to uid.
      # Examples: 'america\\momo' or 'CN=Gitlab Git,CN=Users,DC=mydomain,DC=com'
      bind_dn: 'cn=Manager,dc=xinhua,dc=org'
      password: '{SSHA}5lOQVYTtgJriZzVQLCTF0NoXHT/flThg'
      # Encryption method. The "method" key is deprecated in favor of "encryption".
      #
      #   Examples: "start_tls" or "simple_tls" or "plain"
      #
      #   Deprecated values: "tls" was replaced with "start_tls" and "ssl" was
      #   replaced with "simple_tls".
      #
      encryption: 'plain' # "start_tls" or "simple_tls" or "plain"
#     verify_certificates: true
      active_directory: true
      allow_username_or_email_login: false
#     block_auto_created_users: false
      # Base where we can search for users
      #
      #   Ex. 'ou=People,dc=gitlab,dc=example' or 'DC=mydomain,DC=com'
      #
      base: 'ou=People,dc=xinhua,dc=org'
      # Filter LDAP users
      #
      #   Format: RFC 4515 https://tools.ietf.org/search/rfc4515
      #   Ex. (employeeType=developer)
      #
      #   Note: GitLab does not support omniauth-ldap's custom filter syntax.
      #
      #   Example for getting only specific users:
      #   '(&(objectclass=user)(|(samaccountname=momo)(samaccountname=toto)))'
      #
      user_filter: ''
      # LDAP attributes that GitLab will use to create an account for the LDAP user.
      # The specified attribute can either be the attribute name as a string (e.g. 'mail'),
      # or an array of attribute names to try in order (e.g. ['mail', 'email']).
      # Note that the user's LDAP login will always be the attribute specified as `uid` above.
      attributes:
      # The username will be used in paths for the user's own projects
      # (like `gitlab.example.com/username/project`) and when mentioning
      # them in issues, merge request and comments (like `@username`).
      # If the attribute specified for `username` contains an email address,
      # the GitLab username will be the part of the email address before the '@'.
        username: ['uid', 'userid', 'sAMAccountName']
        email:    ['mail', 'email', 'userPrincipalName']

      # If no full name could be found at the attribute specified for `name`,
      # the full name is determined using the attributes specified for
      # `first_name` and `last_name`.
        name:       'cn'
        first_name: 'givenName'
        last_name:  'sn'
#     ## EE only
#     group_base: ''
#     admin_group: ''
#     sync_ssh_keys: false
EOS
其中:
host 和 port 是 LDAP 服务的主机地址及端口bind_dn 和 password 是一个管理 LDAP 的 dn 及密码base 表示 LDAP 将以该 dn 为 节点,向下查找用户user_filter 表示以某种过滤条件筛选用户,比如假设我们只希望所属组为 Developers 的用户来访问 GitLab,则可以在这里设置 (memberOf=cn=Developers,cn=Groups,dc=xinhua,dc=org)attributes 表示 GitLab 中的字段与 LDAP 中哪些字段可以相互对应,比如可以用 LDAP 中的 uid 来作为 GitLab 用户名
配置修改完成之后,运行下面命令重启 GitLab 服务:
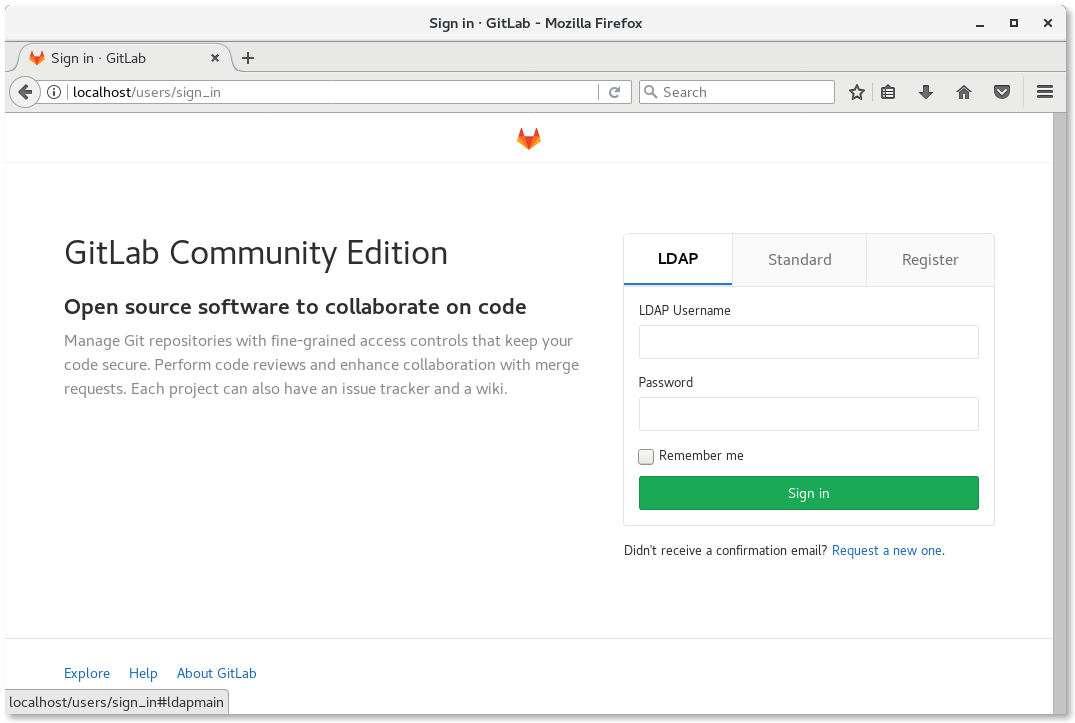
这样,就简单的配置好了 LDAP 目录服务。打开浏览器访问 http://localhost/ 便会看到在登录界面上多了一个 LDAP 的登录方式:
三、进一步配置
通过第二节,我们在 GitLab 上联通了 LDAP 认证服务,下面,我们将根据实际情况,进一步配置 GitLab 和 LDAP。
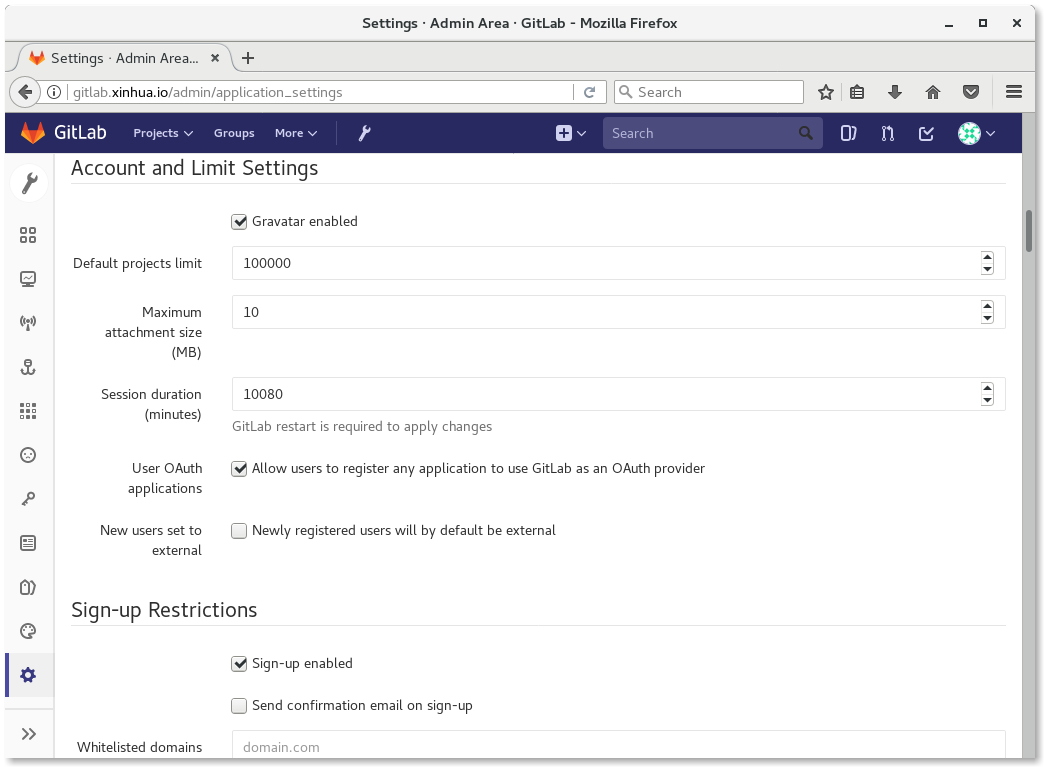
首先,为了安全我们需要关闭 GitLab 自己的注册功能,这样新用户只能通过 LDAP 认证的方式进行登陆。同时,需要将默认的管理员 root 修改为较复杂的用户名,以防攻击者暴力破解。
其次,可以将非企业正式员工的用户设置成 External User,以限制其创建私人项目和组。比如在一个企业中,除了全职的正式员工之外,可能还会有项目中存在乙方公司、兼职等临时人员,将这些人设置为 External User 便可限制其使用 GitLab 创建自己的私人项目和组,同时对其提交项目代码不受影响。
四、开启 HTTPS
GitLab 默认没有开启 HTTPS,如果需要开启的话,需要按照下面的步骤执行:
首先,在配置文件 /etc/gitlab/gitlab.rb 中将下面一行中的协议由 HTTP 改成 HTTPS,并设置从 HTTP 到 HTTPS 的重定向:
external_url "https://gitlab.example.com"

# Redirect HTTP requests to HTTPS
nginx['redirect_http_to_https'] = true
然后创建一个 SSL 目录,并将网站证书导入进去:
# mkdir -p /etc/gitlab/ssl
# chmod 700 /etc/gitlab/ssl
# cp gitlab.xinhua.io.key gitlab.xinhua.io.crt /etc/gitlab/ssl/
注意上面的证书必须以配置中的域名(如本文中的 gitlab.xinhua.io)为其文件名。
最后再执行 gitlab-ctl reconfigure 命令,即可通过 HTTPS 方式访问 GitLab 了。
五、参考资料